ISO 14632:2021 pdf download – Extruded sheets of polyethylene (PE-HD) — Requirements and test methods.
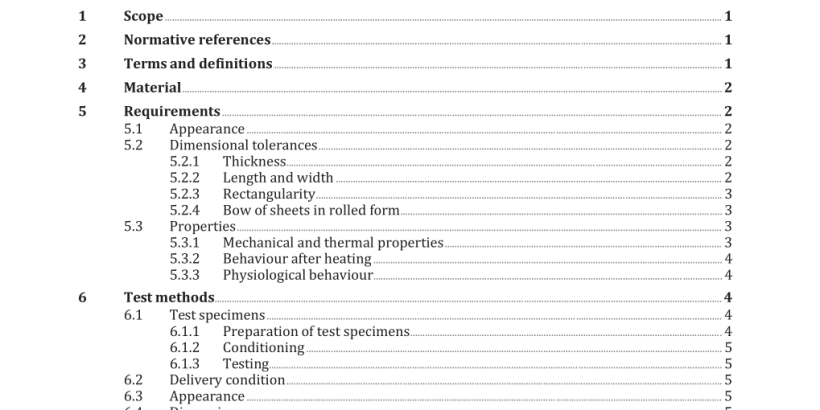
4 Material Sheets shall consist of PE extrusion compounds designated by ISO 17855-1 without fillers or reinforcing materials. Extrusion compounds can contain additives such as processing aids, stabilisers, flame protective agents and colorants. Compounds and additives of unknown identity shall not be used. NOTE Legal requirements can cause a specific choice of extrusion compounds (see 5.3.3). 5 Requirements 5.1 Appearance Sheets shall be substantially free from bubbles, voids, cracks, visible impurities and other defects which would make them unfit for the intended use. Surfaces shall be substantially smooth and free from sharp grooves, sink marks or damage. Colorants shall be homogeneously distributed throughout the material. Slight colour differences due to the particular extrusion compound or processing procedure used are admissible. Admissible variations in any of the above shall be agreed between the interested parties. Sheets shall be examined in accordance with 6.3 .
5.3.3 Physiological behaviour Relevant legislation concerning physiological behaviour shall be taken into consideration. 6 Test methods 6.1 Test specimens 6.1.1 Preparation of test specimens Representative test specimens shall be cut longitudinally and transversely from locations evenly distributed over the length and width of the sheet. From a sheet in roll form, a two-metre sample shall be cut from the end of the roll to provide test specimens. Surfaces of the test specimens shall be free from damage and other defects in order to avoid notch effects. Should any burrs occur on the test specimens during production, these shall be eliminated without damaging the surfaces of the test specimen. If required, the cut edges shall be finished with abrasive paper (grain number 220 or finer), the direction of abrasion being along the length of the test specimens. If it is necessary to machine the sheet to reduce it to the thickness required, one original surface shall be left intact. In particular, test specimens over 4,2 mm thick intended to be used in the tests described in 6.6 to 6.8 shall be machined down on one side to a thickness of 4,0 mm ± 0,2 mm in accordance with ISO 2818.
6.1.2 Conditioning All test specimens shall be conditioned for at least 16 hours in accordance with ISO 291. Shorter conditioning times shall be used by agreement between the interested parties when it can be shown that there is no significant difference in the results obtained. 6.1.3 Testing Testing shall be carried out in accordance with ISO 291, unless agreed differently between the interested parties or specified differently in the individual testing standards. 6.2 Delivery condition Sheets should be visually examined when delivered to ensure freedom from mechanical damage or other obvious defects. Sheets can be inspected by means of ultrasonics or X-rays where required. 6.3 Appearance Where possible, sheets shall be examined for visual defects by transmitted light using a suitable light source. Otherwise, sufficiently bright reflected light should be used. Any defects thus identified shall be compared with the agreed specification (either in written or sample form) and sentenced accordingly.
6.6 Tensile stress at yield (σ y ) and tensile strain at yield (ε y ) Tensile stress at yield, σ y , and tensile strain at yield, ε y , shall be determined using at least five type 1B test specimens in each direction in accordance with ISO 527-1 and ISO 527-2 using a test speed of 50 mm/min ± 5 mm/min. 6.7 Modulus of elasticity in tension (E t ) Modulus of elasticity in tension, E t , shall be determined using at least five type 1B test specimens in each direction in accordance with ISO 527-1 and ISO 527-2 using a test speed of 1 mm/min ± 0,2 mm/ min. 6.8 Charpy impact strength of notched specimens (a cn ) Charpy impact strength of notched specimens, a cn , for nominal thicknesses ≥4 mm shall be determined in accordance with ISO 179-1 and ISO 179-2 using at least 10 test specimens in each direction. 6.9 Melt mass-flow rate ( MFR ) Melt mass-flow rate (MFR 190/ 5) shall be determined in accordance with ISO 1133-1 and ISO 1133-2.
